A bootable copy of Windows on a disk is handy if anything wrong happens on the existing startup drive. Some years ago, Compact Drive was the only way to create boot CD, install software or transfer data from and to your PC. Now, USB flash drive is getting cheaper and easier to handle. It is reusable with larger capacity. It becomes easier and simpler to create bootable USB, especially for netbook users.
You are highly recommended to create bootable USB, in the event of an unexpected system failure. To do so, you would be able to boot your computer from USB flash drive and repair corrupted system, recover any important information stored on the hard drive, and do much more.
Since we have valid reasons for wanting a bootable copy of Windows, we're going to show you how to create one using a USB flash drive and CD disc.
Part I: Things you need to Prepare to Create Bootable USB or Boot CD

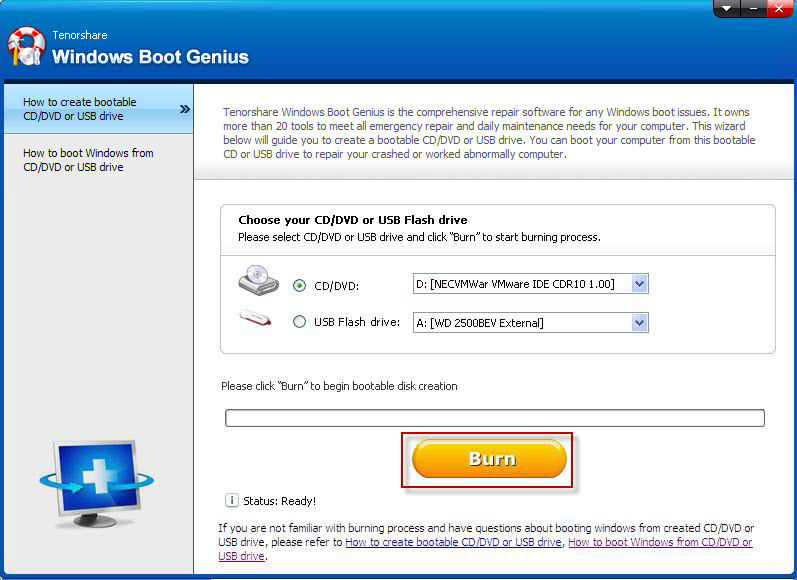
- A third-party boot USB burning program: Windows Boot Genius allows you create Windows boot USB and burn boot CD as you like. With fancy interface, it is easy enough for every level of computer to finish the boot USB burning task, even for a computer novice.
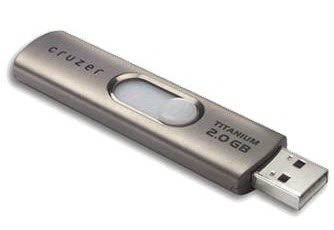
- An 8 GB or larger USB flash drive: Here we choose 8 GB flash drive due to two reasons: Firstly, 8 GB is large enough to accommodate the current minimum amount of space required to burn a boot USB by using Windows Boot Genius. Secondly, it is budget-friendly.
- A Windows-based workable computer: Windows Boot Genius is designed for Windows users.
- Some free time. The creation time varies by the speed of the USB flash drive, but plan on 10 minutes to half an hour.
Part II: How to Make a Bootable USB for Windows 7/ Vista
Step 1. Insert a USB into your computer. When your PC recognizes the USB, open the command prompt via: Start > (type in the search bar) cmd , then press Enter.
Step 2. Type in: diskpart, then press Enter in the command prompt. After that, a new window will be opened.
Step 3. Once inside this new window, type in: list disk . All active drives will be displayed to the command prompt.
- After that is done, you will want to select your USB. Typically, it's always the smallest one in size, so you will always be able to tell which one it is.
- Clean your USB. Please make sure that you have backed up all data stored on the USB, because you will lose all your data in this step. Type in: clean.
Step 4. Now you will create a partition for the USB. Type in: create partition primary.
