Touch Keyboard letting you type on touch devices without having the need of any physical keyboard comes with Windows 8, as well looks nice and works great. But some users have no any idea to enable virtual keyboard on Surface or tablets like Lenovo X1. No worries any more. This article shows you how to make Windows automatically show the virtual keyboard.
Recommended:
How to Rate and Optimize Your PC Performance in Windows 10/8/7
Top 3 Options to Reset Forgotten/Lost Admin Password in Windows
How To Make Windows 10/8.1/8 Show On-screen Keyboard Automatically?
Continnum, a quite awesome feature for Windows users, allows you to change between desktop mode and tablet mode so that you can either keyboard and mouse or optimize your screen for greater touch experience, even typing with touch keyboard. However, by default, the touch keyboard doesn't automatically display when tapping on text forms, address bars, or anywhere else that you need to type into. You have to make touch keyboard automatically display in just a few steps. Now do it as following to show on-screen keyboard easily.
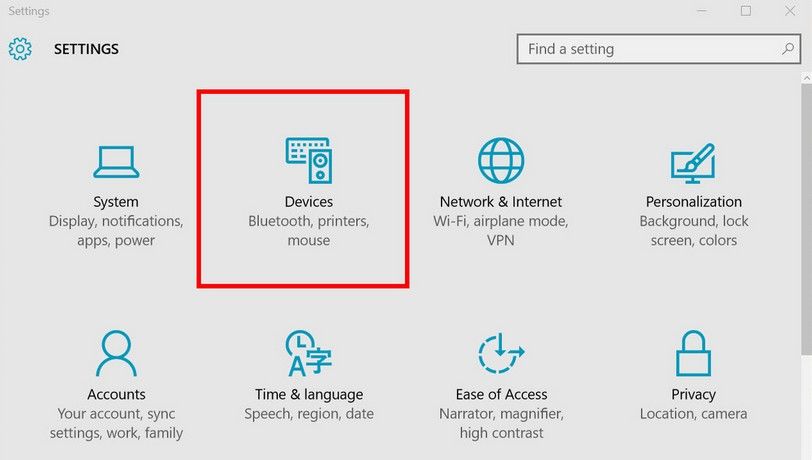
1. To make Windows automatically shows the touch keyboard, press Win+I to open the Settings app. Alternatively, swipe in from the right edge of the screen, and then tap Settings. After that, click Devices as shown in the picture below.

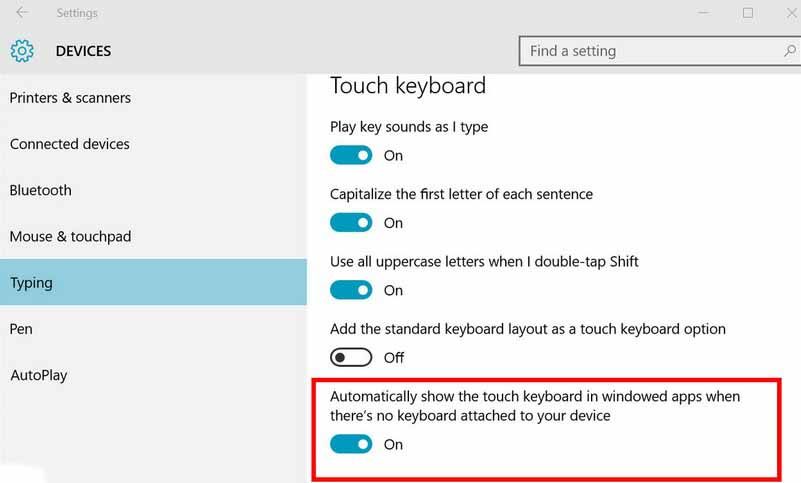
2. Click Typing in the left panel and switch on/off: Automatically show the touch keyboard in Windowed apps when there's no keyboard attached to your device.

Note: Also here you can change other options like turning autocorrect and key sounds off. The most useful option for tablets that you never use physical keyboard is to turn on "Add the standard keyboard layout to the keyboard." It is import to stress that this method can be applied to turn on/off on-screen keyboard in Samsung/HP/Dell/Sony/Toshiba/Lenovo, etc.
Tips: If Your Touch Keyboard Not Working in Windows 10/8.1/8
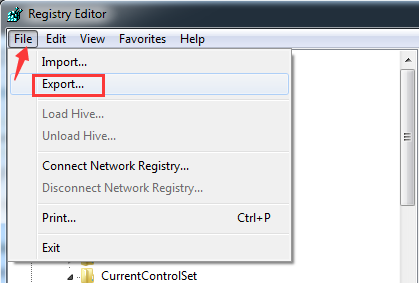
1. Press Windows Key + R simultaneously, type regedit in Run dialog box and hit Enter to launch the Registry Editor.
2. Navigate to HKEY_LOCAL_MACHINE\SOFTWARE\Microsoft\Windows\CurrentVersion\Explorer\Scaling
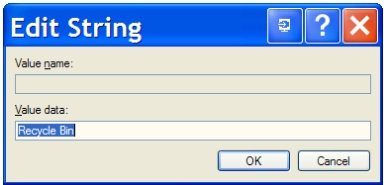
3. Search for MonitorSize and double click it to get into Edit String. The incorrect value data for Monitorsize registry string is the root cause behind the issue.

4. Type a declimal data such as 22.5 in the box and click OK. Lastly, close Registry Editor and reboot your computer. The problem should be solved.

If this guide is helpful to you, please share it with your friends and families. We have more solutions to iPhone/Android/Mac/Windows problems like this in Computer Helps page. Also you are welcomed to leave any question under the comment section. We will reply to you as soon as possible.