The check disk utility, also known as CHKDSK is a useful Windows system tool to verify the file system integrity, list and correct errors on the disk. However, some users complained that Windows 10 CHKDSK stuck in the scan process and cannot complete for several hours. When they tried to reboot computers, but only find the scanning process resumes automatically. The reason for CHKDSK stuck mostly due to the bad sector in the hard disk, which is not easy for users to repair. Fortunately, we've rounded up 3 effective methods here to fix CHKDSK stuck on Windows 10 with only simple steps.
- Method 1: Stop CHKDSK from Running At Startup
- Method 2: Use Recovery Drive to Fix Stuck CHKDSK on Windows 10
- Method 3: Fix CHKDSK Frozen in Windows 10 with Windows Boot Genius
Method 1: Stop CHKDSK from Running At Startup
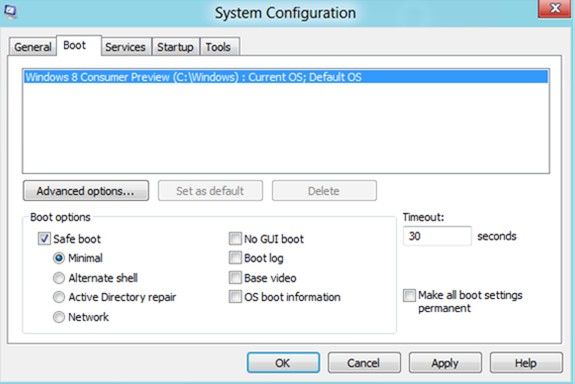
When the CHKDSK process bar not moving, the first choice of fixing this error by disabling some service options in system configuration.
- Type System Configuration in the search box and then press Enter.
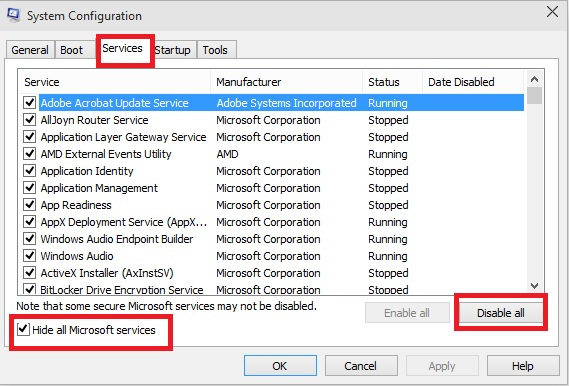
- Choose Services option, click "Hide all Microsoft services" and "Disable all".
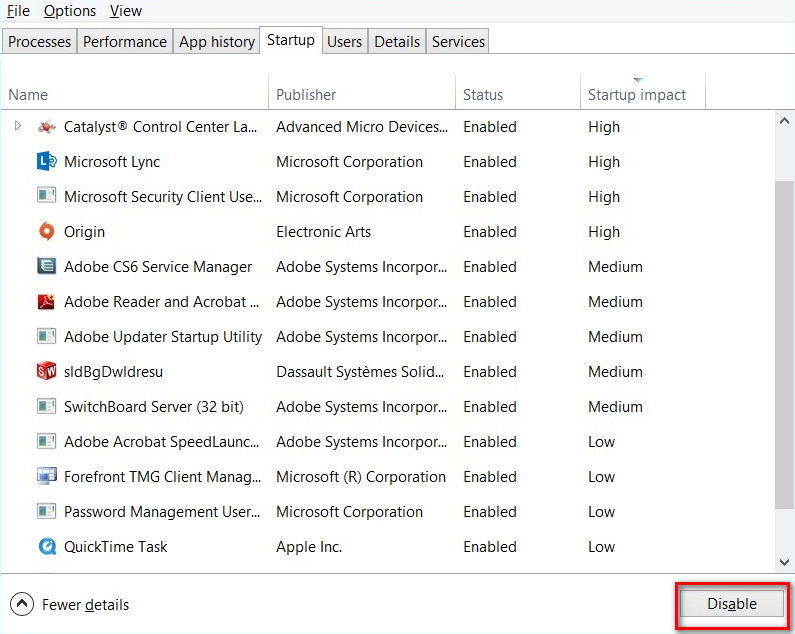
- Click on Open Task Manager on the Startup menu, select all items and click "Disable".
- Now close the Task Manager and click "OK" on the System Configuration dialog box.
Method 2: Use Recovery Drive to Fix Stuck CHKDSK on Windows 10
- Create a Windows 10 recovery drive and enter the CD/USB, reboot the computer.
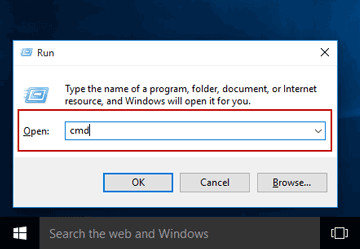
- Run cmd by pressing and holding Shift+F10 in the CD main window.
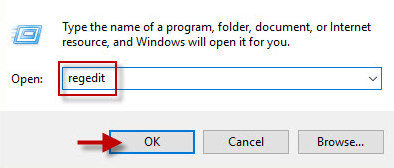
- Type regedit to open the Register Editor in the cmd window.
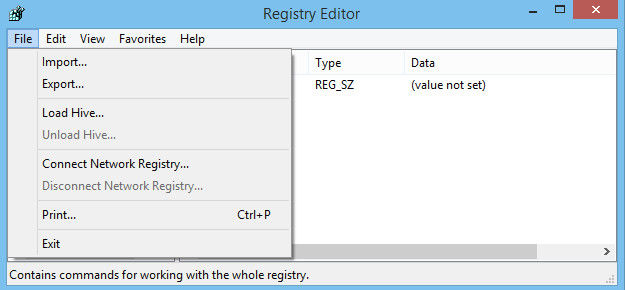
- Go to HKEY_LOCAL_MACHINE-> File Menu, select Load Hive.
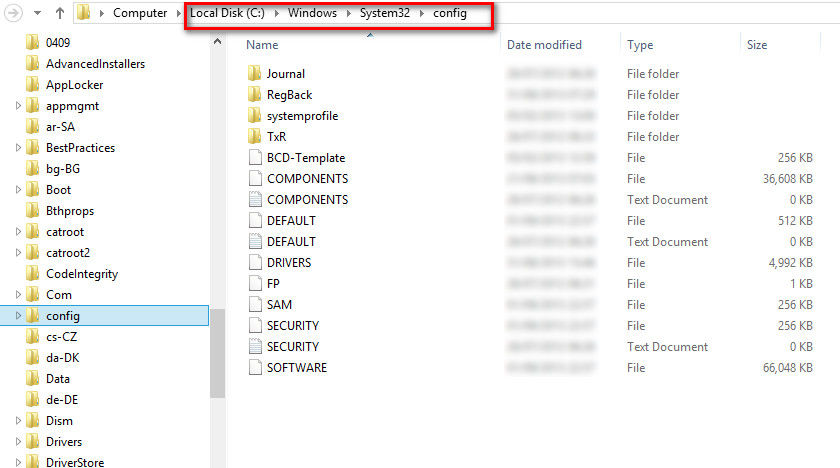
- Go to C:\Windows\System32\Config, choose System. If a name is prompted, enter DiskCheck and press Enter to confirm.
- Go to DiskCheck \ControlSet001\Control\Session Manager, select BootExecute.
- Change the autocheck autochk * /r\DosDevice\C: line to autocheck autochk *
- Go to the DiskCheck folder, select Unload Hive and exit the Registry Editor
- Type chkdsk c: /r in Command Prompt. After that, the computer will be normal.

Method 3: Fix CHKDSK Frozen in Windows 10 with Windows Boot Genius
If the two methods above failed to fix CHKDSK stuck on your computer, you may need a third-party tool. Try Windows Boot Genius - professional computer rebooting software to get rid of CHKDSK freezing issues as well as other stuck on Windows. Free download this program and follow the guide below to see how it works.
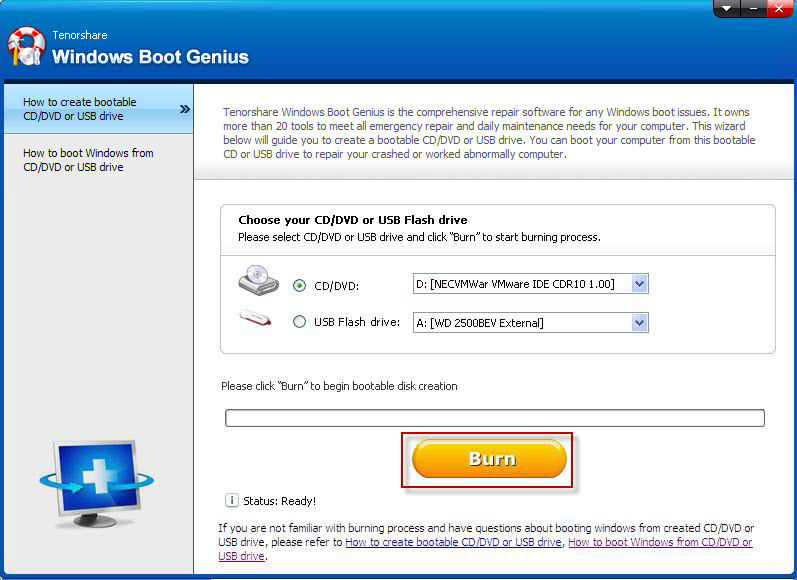
- Install Windows Boot Genius in any bootable computer. Run the software and select CD/DVD/USB you have inserted to the computer. Click "Burn" button. Now insert the external hard disk to the CHKDSK stuck computer, press F12 or Delete to get into BIOS boot setting.
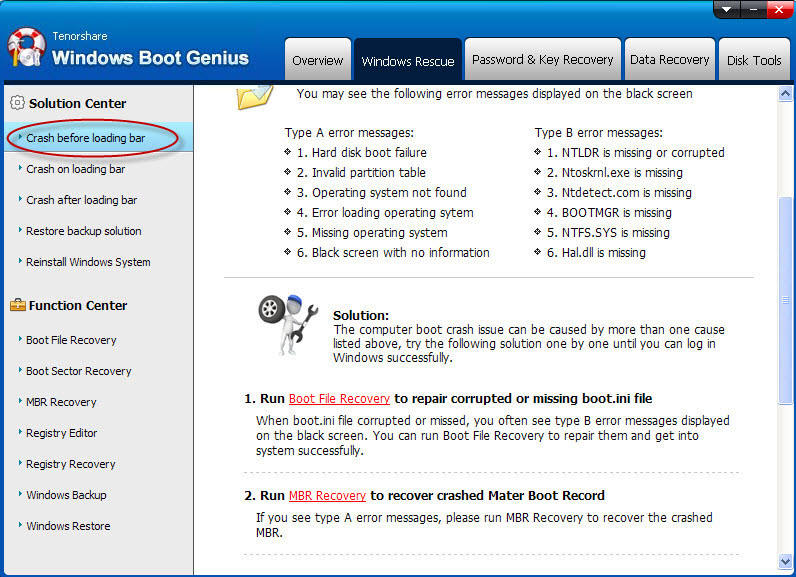
- Now you'll see the icon of Windows Boot Genius. Double click it to get into Windows Rescue Menu to repair CHKDSK stuck Windows system.
After trying all the 3 solutions, you must know how to fix CHKDSK stuck on windows 10 clearly. If you have the same problem in your Windows 8.1/8/7, the methods are still workable. Hope this post will be helpful!