Old iPhone 4s runs really slowly? iPhone frequently becomes unresponsive? Your iPhone is running out of space? Deleted messages are still found in search? Don't worry! iPhone Care is here to optimize the performance of your device by cleaning up all redundant junk files, sensitive and private data as well as other useless files on your iPhone, iPad and iPod touch.
Here is the tutorial about how to use iPhone Care step by step. Before you start, you need to download iPhone Care first and install it on your PC. Note that iPhone Care is totally Free!
Download Free iPhone Care:
| Size : 20.7MB |
 |
Part 1. Set Preference Settings
Before scanning your device, you need to check the basic Preference settings on the welcome interface.
Step1: Connect Your Device via USB
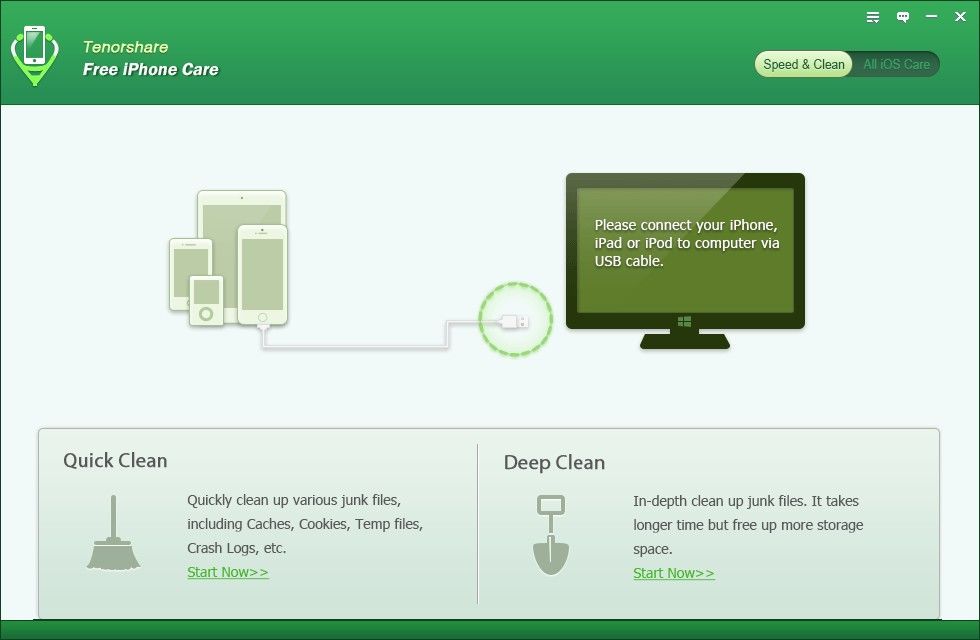
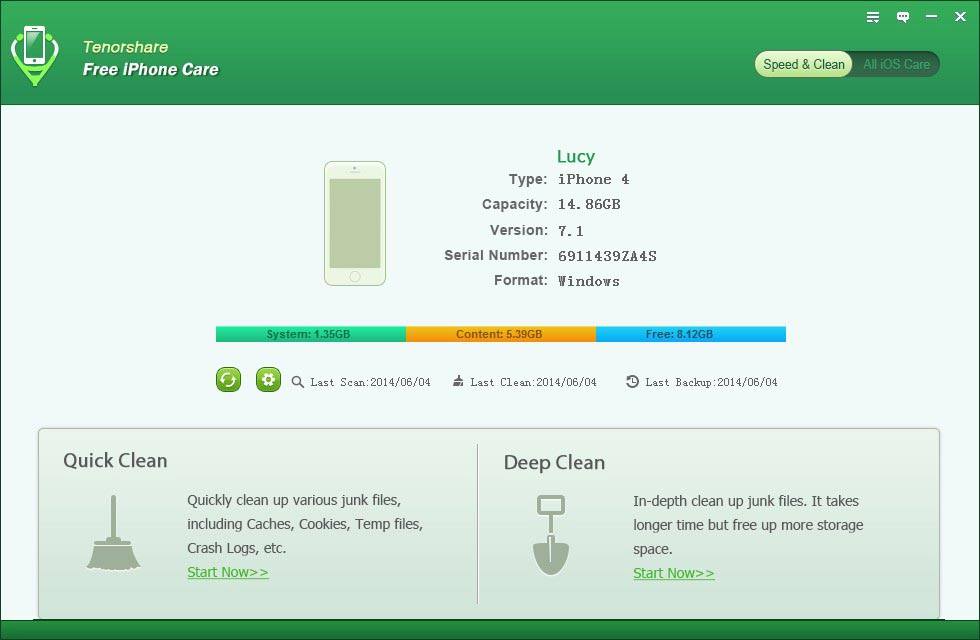
Run iPhone Care on your PC and connect your device to the computer with an USB cable. Once your device is connected, iPhone Care will list the information of your last scan, last Clean and last backup.
Step 2: Specific Device Usage Condition
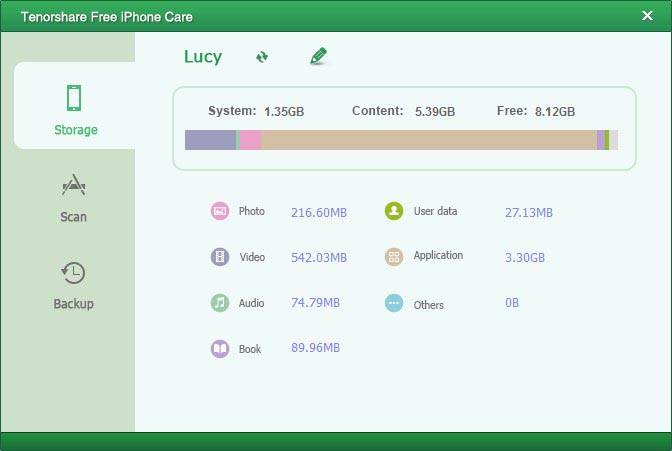
Click on the Setting button ![]() , and then you will have three options. Click on "Storage", iPhone Care will show you how much space has been taken by Other.
, and then you will have three options. Click on "Storage", iPhone Care will show you how much space has been taken by Other.
Step 3: Set the apps not to Scan
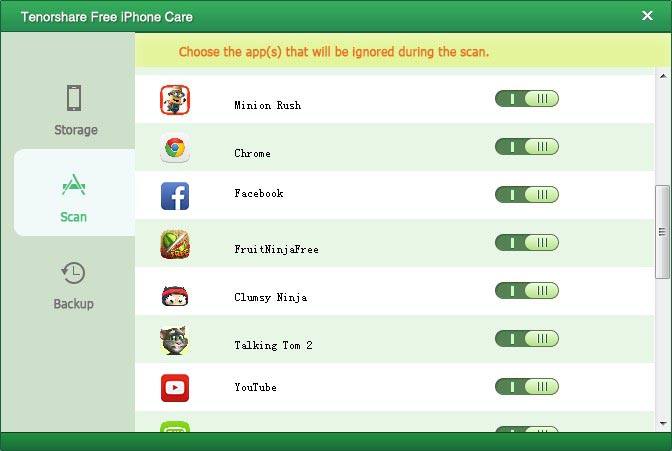
Click on "Scan" to set the apps that you want to ignore while scanning and cleaning. By default, all your apps will be scanned by iPhone Care.
Step 4: Choose Backup Option
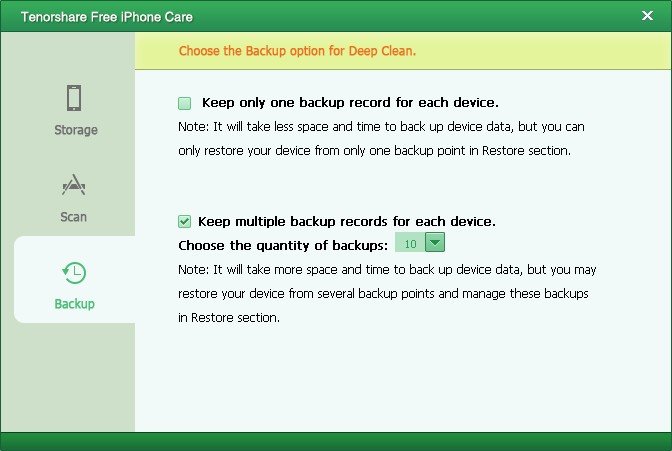
Click on "Backup" to choose the Backup Option for Deep Clean. You can either keep only one backup record for each device or keep multiple records for each device.
Part 2. Clean Junk Files with Quick Clean
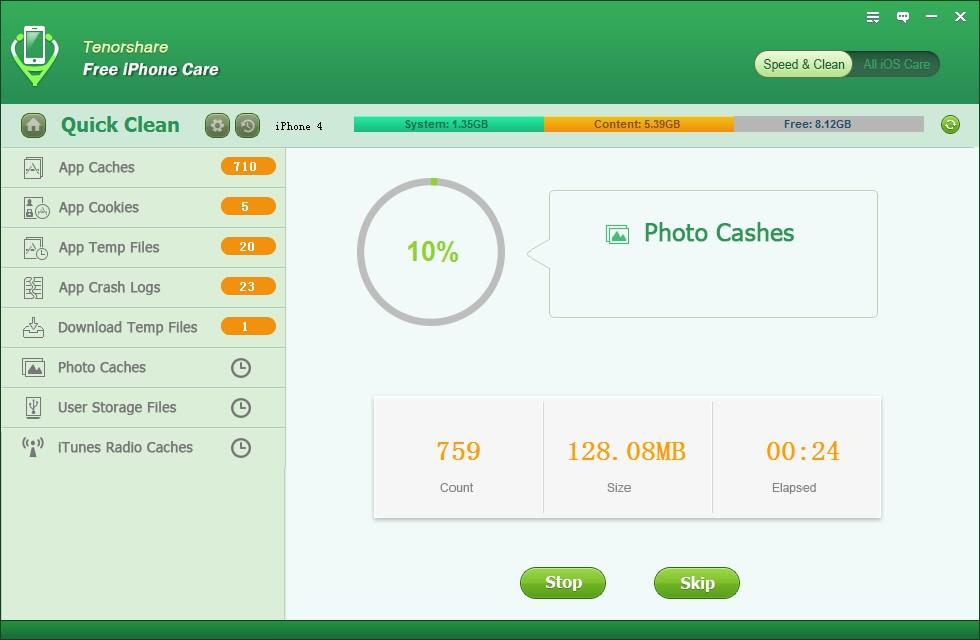
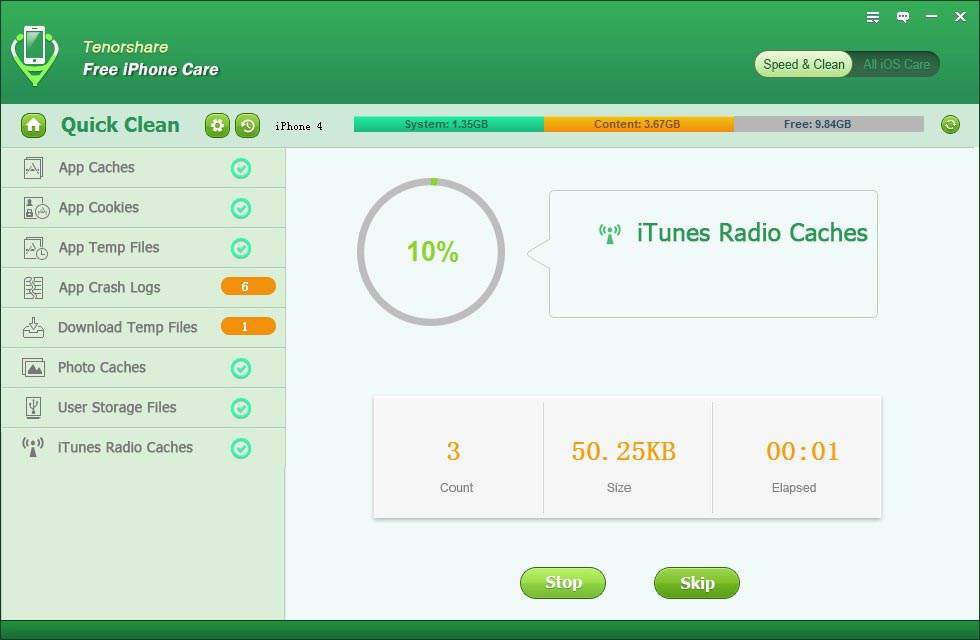
With Quick Scan on iPhone Care, you can easily remove a variety of junk files that may occupy storage space and slow down the performance on your devices. The junk files includes App caches, App cookies, App Tem files, App Crash Logs, Download Temp files, Photos Caches, User Storage Files and iTunes Radios Caches.
Step1: Choose Quick Clean Mode
Click "Quick Scan" on the interface of iPhone Care and you'll see what types of junk file will be scanned. You can click on the switch button to turn off those types of junk that you don't want to scan and remove.
Step2: Start to Scan Device
After checking the junk files, click on "Scan Now" to scan the junk files on your device. During this period of time, you are allowed to Stop or Skip scanning particular file categories.
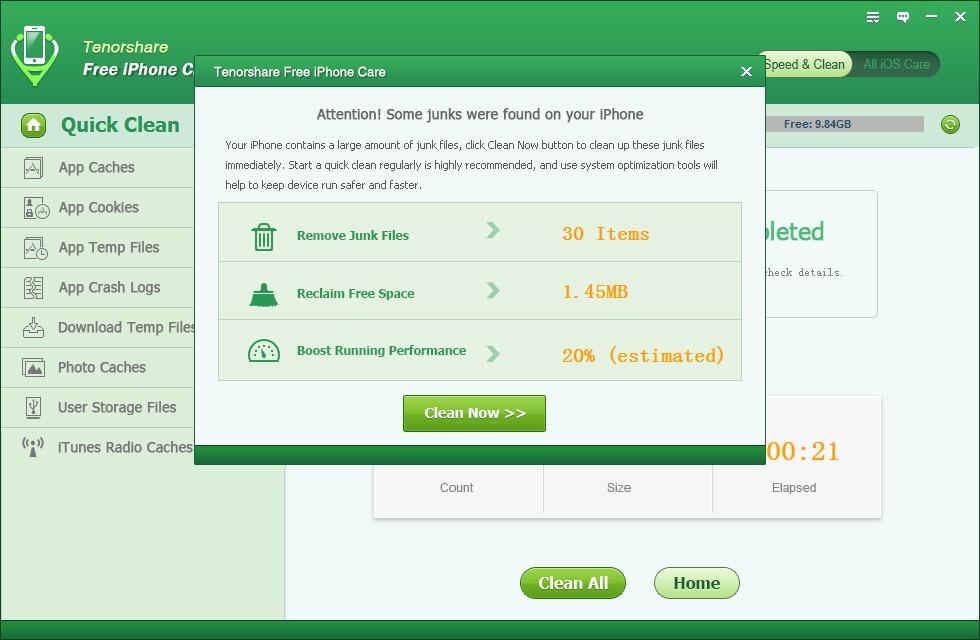
Note: Once the scanning is over, iPhone Care will prompt you some junks were found your device. You can click Clean Now directly to clear them or you can follow step 3 to preview and select files to remove.
Step 3: Preview and Select Files to Remove
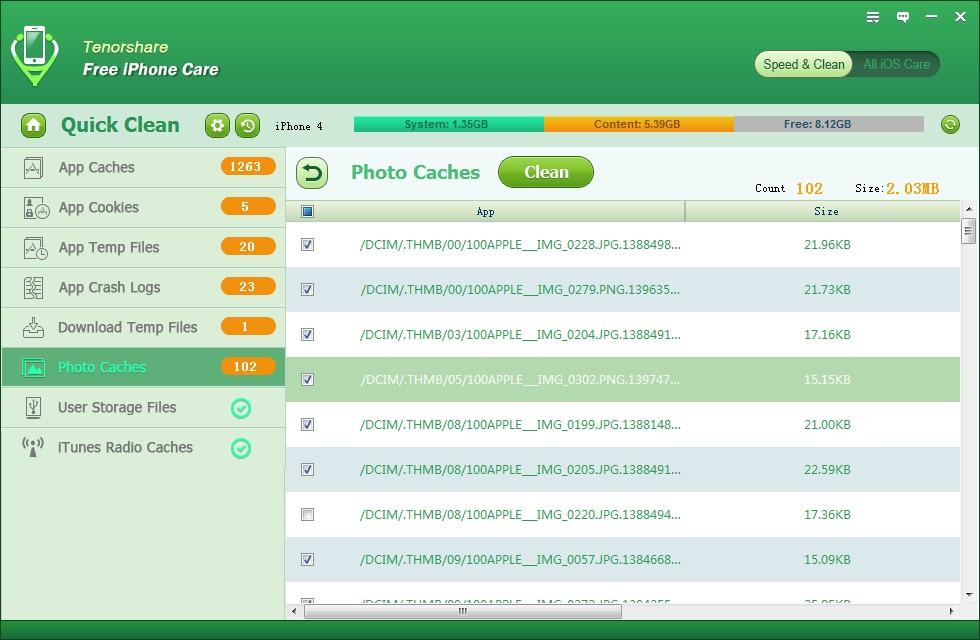
After the scanning, iPhone Care will list all the scanning results under different categories. Close the Attention box firstly; then click each category to preview and check files you want to clean.
Step 4: Start to Clean
After choosing the files you want to clean, click on "Clean" to start to remove the junk files on your device. The cleaning time largely depends on the size and items of junk file.
Step 5: Check Cleaning Results
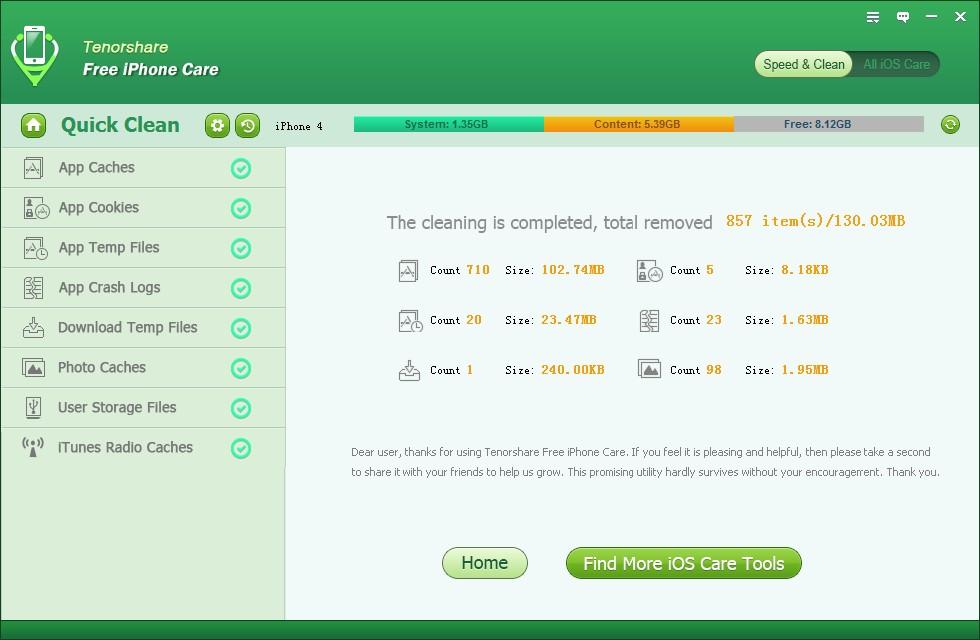
After cleaning, iPhone Care will show you how many files have been cleaned and how much storage space has been recovered.
Part 3. Clear Private Data with Deep Clean
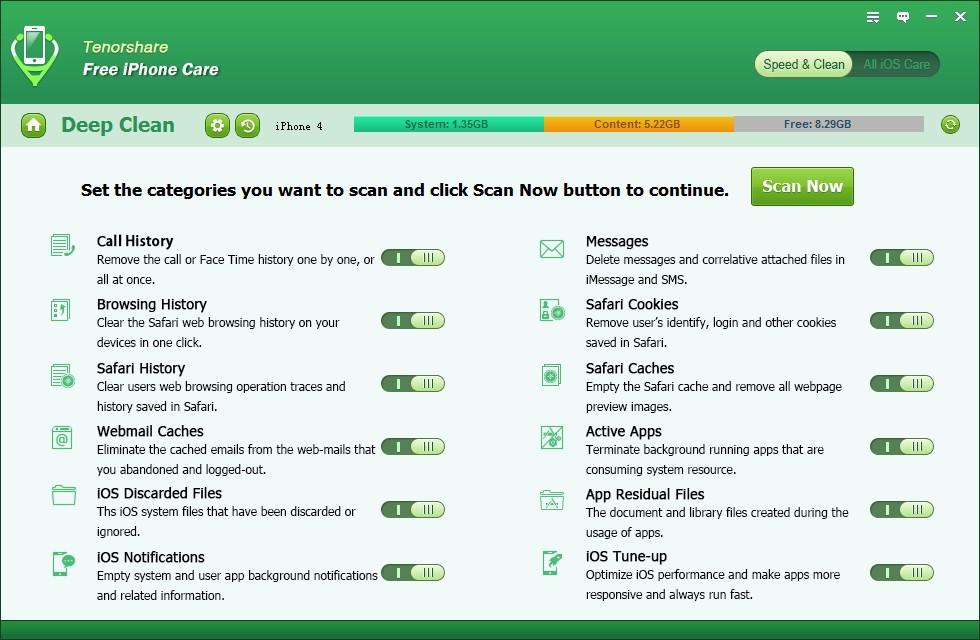
Permanently deleting files on your iPhone, iPad, or iPod isn't something easy. You'll find your deleted messages are still found in Search. iPhone Care will deeply scan your device and lists all your private data like messages, Internet history, Safari cookies, calling history, etc., so that you can clear them with ease.
Step 1: Choose Deep Scan Mode
Click "Deep Scan" on the interface of iPhone Care and you'll see what types of personal files will be scanned. You can click on the switch button to turn off those you don't want to scan and remove.
Step 2: Backup Your Device
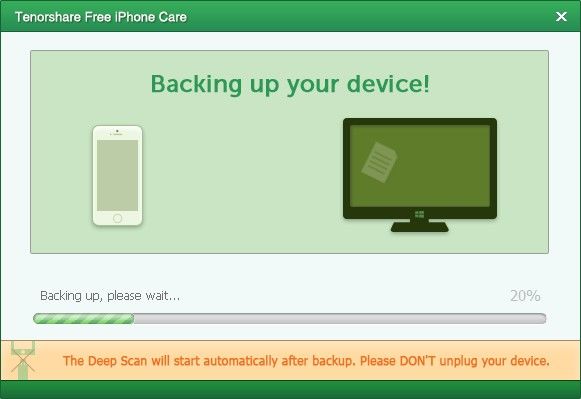
iPhone Care will backup your device before any cleaning action thus even you mistakenly deleted some useful data; you can still get them back. The backup time will depend on the usage of your device, and regularly is 1 to 8 minutes.
Step 3: Start to Scan Device
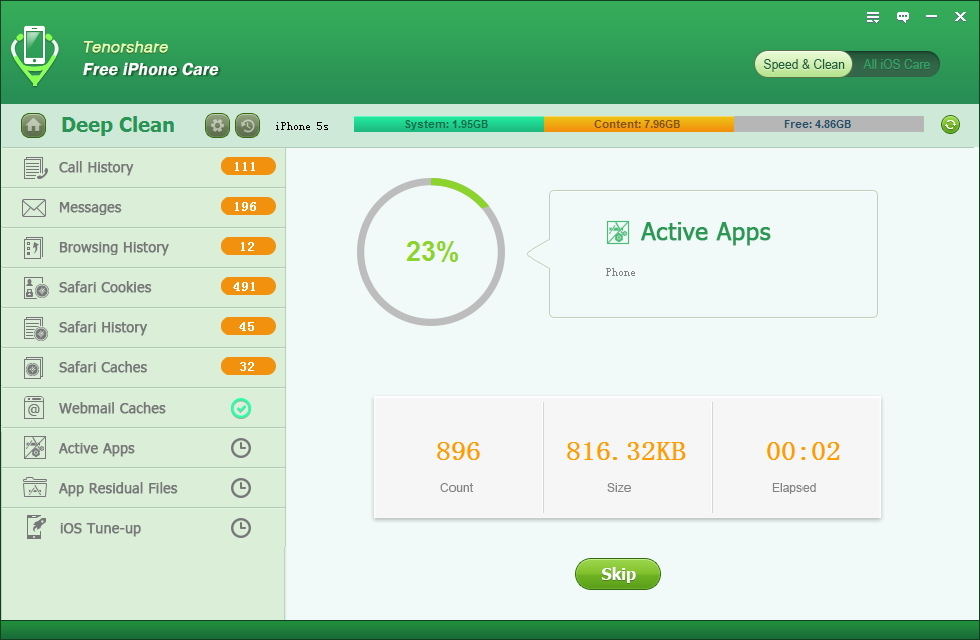
After backing up your device, iPhone Care will automatically start scanning your device. During this period of time, you are allowed to Stop or Skip scanning particular file categories.
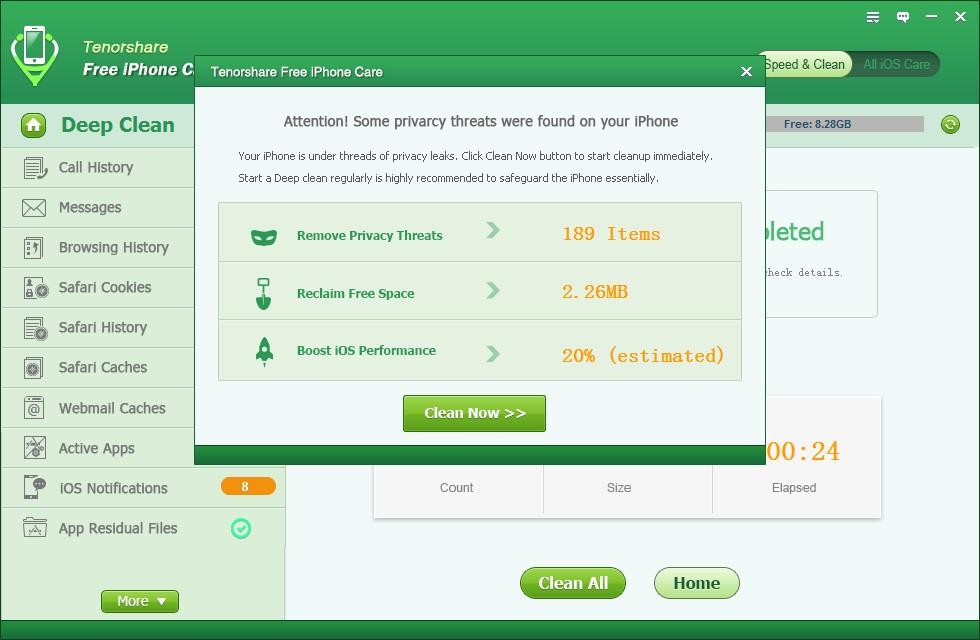
Note: Once the scanning is over, iPhone Care will prompt you some private threats were found your device. You can click Clean Now directly to clear them or you can follow step 4 to preview and select files to remove.
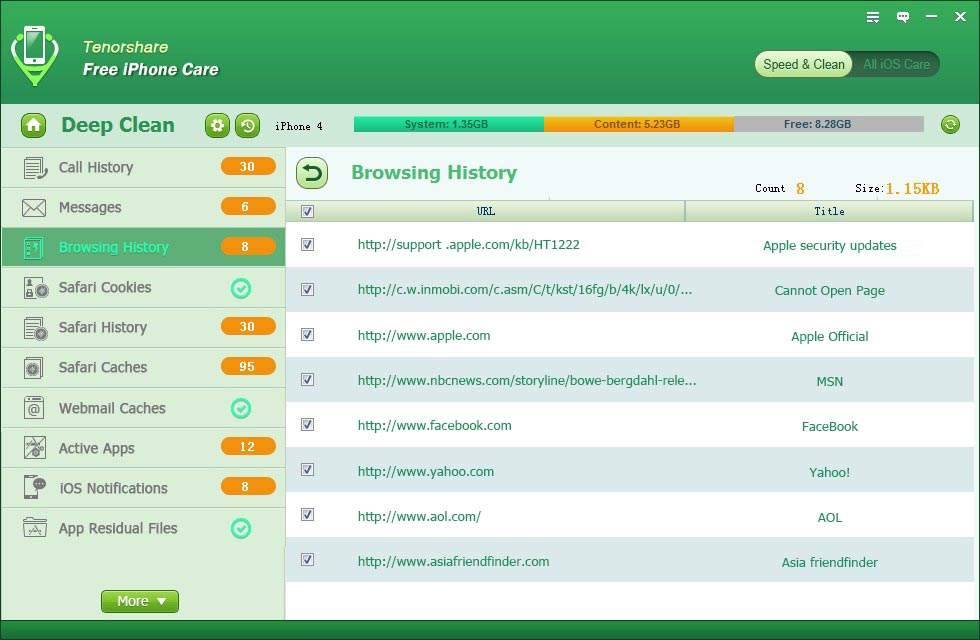
Step 4: Preview and Select Files to Remove
After the scanning, iPhone Care will list all the scanning results under different categories. Close the Attention box firstly: then click each category to preview and check those you want to clean.
Step 5: Start to Clear
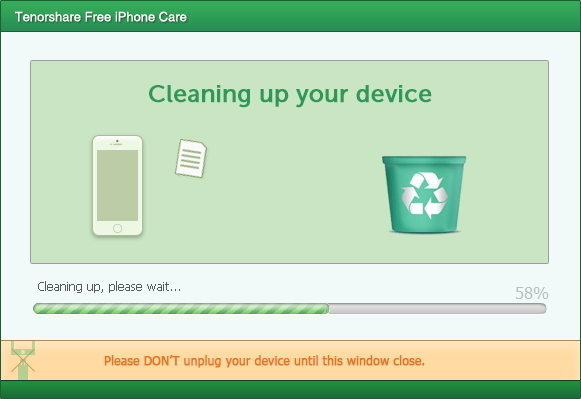
After choosing the files you want to clean, click on "Clean All" to start to remove the sensitive data on your device. The cleaning time largely depends on the size and items of the file.
Step 6: Restart Your Device
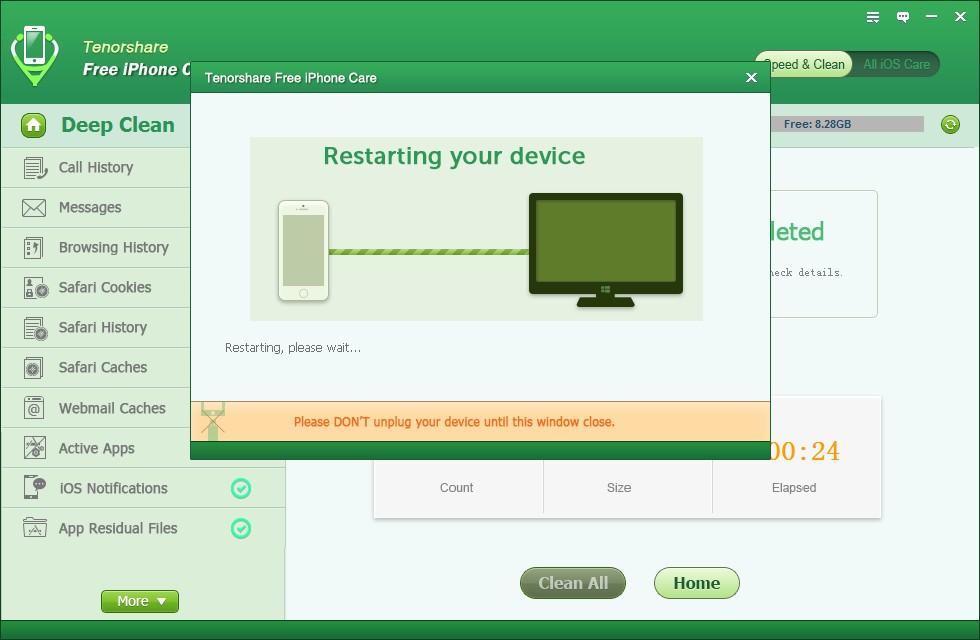
After cleaning, iPhone Care will restart your device. At this moment, your device will be in Restore in Progress status so please don't unplug your device until the cleaning finished.
Now you have a clear idea about how to optimize your iPhone by cleaning up it. If you like this program, download it on your computer and have a try.
Sounds Good? Get " Free iPhone Care " Now!
If you have any questions about this program, please contact us, We provide lifelong technical support and upgrade service.
