How to Perform a Repair Upgrade with Windows 10 Install Disc/ISO File
In order to smoothly run repair upgrade, users may need to get the ISO file for Windows 10 or you can easily get help from a Windows 10 install disc.
Here we take the Windows 10 install disc as example first, after insert the disc to your Windows 10 computer, user then need to double click and run the disc.

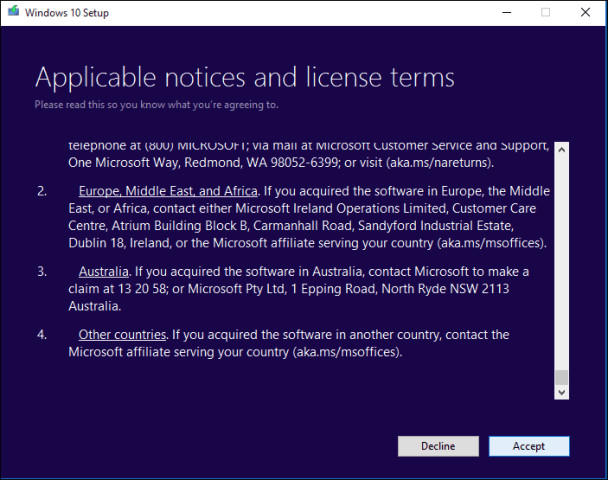
Go through the applicable notices and license terms first, and you need to choose “Accept” to go on.

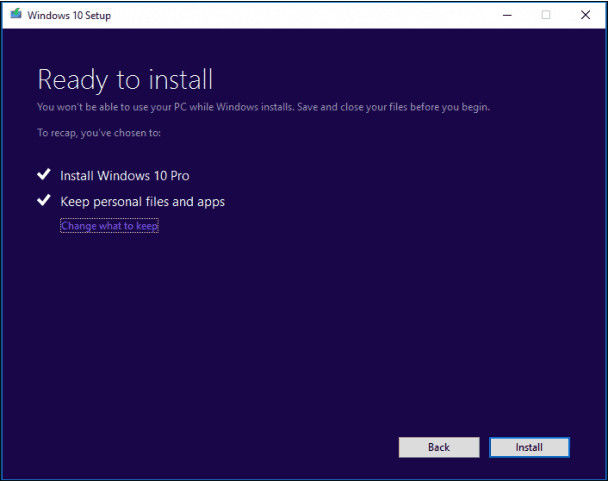
Before perform the repair upgrade for your Windows 10 computer, you can choose to keep your personal data and files. If you have not kept a backup file, here we suggest you to choose “Keep personal files and apps”.

In the “Ready to install” window, you then will be present with a summary which includes the task to be completed. You can “Change what to keep” or just click “Install” to go on.

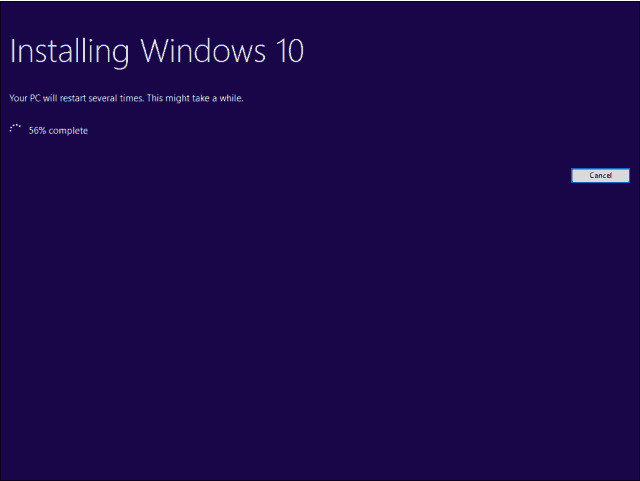
Windows 10 setup will then change to full screen, wait while setup installs. Your computer will be restarted automatically.

After restarting, Windows logo will appear on screen, this might be here for a while, as long as you see the indicator, everything should be ok.
For users who don't have a Windows 10 install disc in hand, you can also choose to download Windows 10 ISO file from the Microsoft official website. The way to perform a repair upgrade using Windows 10 ISO file is the same like using Windows 10 install disc, you need only to run the ISO files and follow the steps above.
That's all about how to perform a repair upgrade for Windows 10, after this process you problem will be sure solved. Meanwhile, if you still find there is any problem with repair upgrade process in Windows 10, here we recommend you to have a try by using Windows Boot Genius, it can help you solve all kinds of boot errors and it also provides over 40 Windows repair tools for you to better maintain your Windows 10/8.1/8/7 computers.