However, once the right key is entered, connecting to the same WiFi network the next time won't require the password. And sometimes you may need to update the WiFi network security key to connect to the network. Taking these into consideration, this article lists 2 easy ways for you to update/change the security key for a specific WiFi network in Windows 8.1 and 8.
Method 1: Manually Update/Change Security Key for WiFi Network
Follow 3 simple steps below; you can easily update/change the security key for WiFi network in Windows 8.1/8.
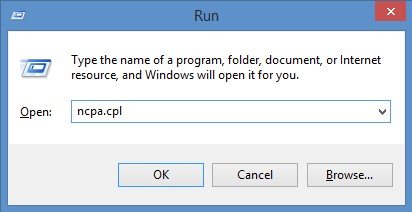
- Press Windows + R to open the Run box and enter ncpa.cpl. Click "Enter" to summon up the Network Connections window.
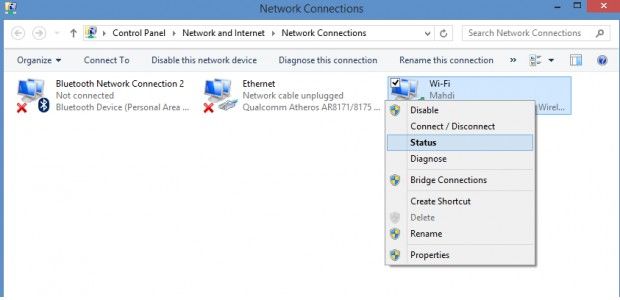
- In the Network Connections window, right-click your "WiFi network" and choose "Status".
- The WiFi Status window opens. Click "Wireless Properties". In the Wireless Network Properties window, click on the Security tab. Enter your new password in the Network security key section and click Ok.
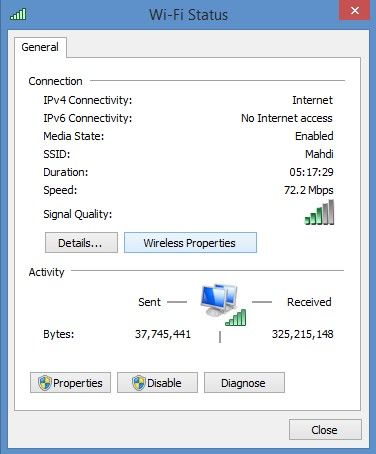
Now your security key for WiFi network has been updated/changed successfully.
Method 2: Update/Change Security Key for WiFi Network Using Command Prompt
Alternatively, you can also update/change the security key for WiFi network in Windows 8.1/8 by using command prompt.
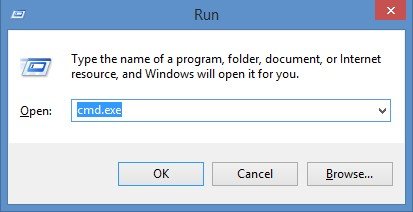
- Press Windows + R to open the Run dialog box and type in cmd.exe to open command prompt.
- Type the following code into command prompt: netsh wlan show profiles.
- Enter the code below to remove the security key for a specific WiFi network: netsh wlan show profiles name="profilename" key=clear. Replace profilename with the name of the WiFi Network.
- The next time when you want to connect to the WiFi network, it will ask you the enter the security key.

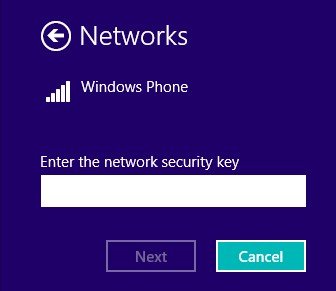
Following methods above, updating the security key for WiFi network in Windows 8.1/8 is really easy. Moreover, you can use some useful tools such as Wi-Fi Password Recovery to detect whether your wireless network is secure enough.